
Setup your own VPN server

Hugo Huang
on 1 March 2023
Tags: Google Cloud , Security , Ubuntu Pro , VPN
Why do we need a VPN server? A VPN (Virtual Private Network) server is a network server that allows users to create a secure and encrypted connection to another network over the internet. Here are some reasons why we need a VPN server:
- Security: VPNs provide a secure way to access the internet, protecting sensitive data from being intercepted by hackers, snoopers, and other malicious actors. A VPN server encrypts all data transmitted between a user’s device and the internet, making it virtually impossible for anyone to intercept or access the data.
- Privacy: VPNs allow users to protect their privacy by hiding their online activity from their Internet Service Provider (ISP) and other third parties. A VPN server can mask a user’s IP address, making it difficult for anyone to track their online activity and location.
- Access to restricted content: Many websites and online services are geo-restricted, meaning they can only be accessed from certain locations. A VPN server allows users to bypass these restrictions and access content from anywhere in the world.
- Remote access: VPNs can be used to provide secure remote access to corporate networks and resources, allowing employees to work from anywhere while maintaining a secure connection to company data.
Create a Ubuntu Virtual Machine on Google Cloud
First, we need a Virtual Machine to host the VPN server. For this demo, we will create a Virtual Machine instance on Google Cloud (follow this video to create a VM on Google Cloud step by step) and pick a region close to the location of your client machines. Here I chose us-west2:

Choose your OS for your server. For security and stability, I chose Ubuntu 20.04 Pro:

Setup Shadowsocks VPN server
In a few seconds, your Ubuntu VM will be running. Now, SSH into the server through the “SSH” button on the right:

A SSH-in-browser will pop out like this:
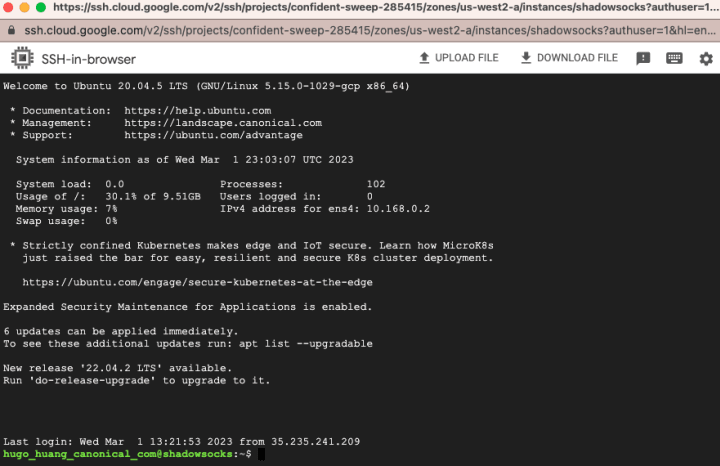
Now, login as root:
sudo suUpdate your OS:
apt-get updateInstall pip:
apt-get install python3-pipInstall Shadowsocks
pip install shadowsocksCreate a configuration file for your Shadowsocks to configure the Shadowsocks server
vi /etc/shadowsocks.jsonAdd the following content to your config JSON file:
{
    "server":"0.0.0.0",
    "server_port":8000,
    "local_port":1080,
    "password":"Your_Password",
    "timeout":600,
    "method":"chacha20"
}
Start the server
ssserver -c /etc/shadowsocks.json -d startIf you want to stop the server
ssserver -c /etc/shadowsocks.json -d stopIf you want to re-start the server
ssserver -c /etc/shadowsocks.json -d restartNow you successfully created a running Shadowsocks server on Google Cloud, you can connect to it through a Shadowscocks Client.
Connecting to your Shadowsocks server
Download the Shadowsocks Client to your local machine.
From https://github.com/nojsja/shadowsocks-electron/releases/tag/v1.2.3, choose the version suitable for your personal computer. I downloaded the Mac version and then installed it.

After I successfully installed the client, I add the server in the Client UI:
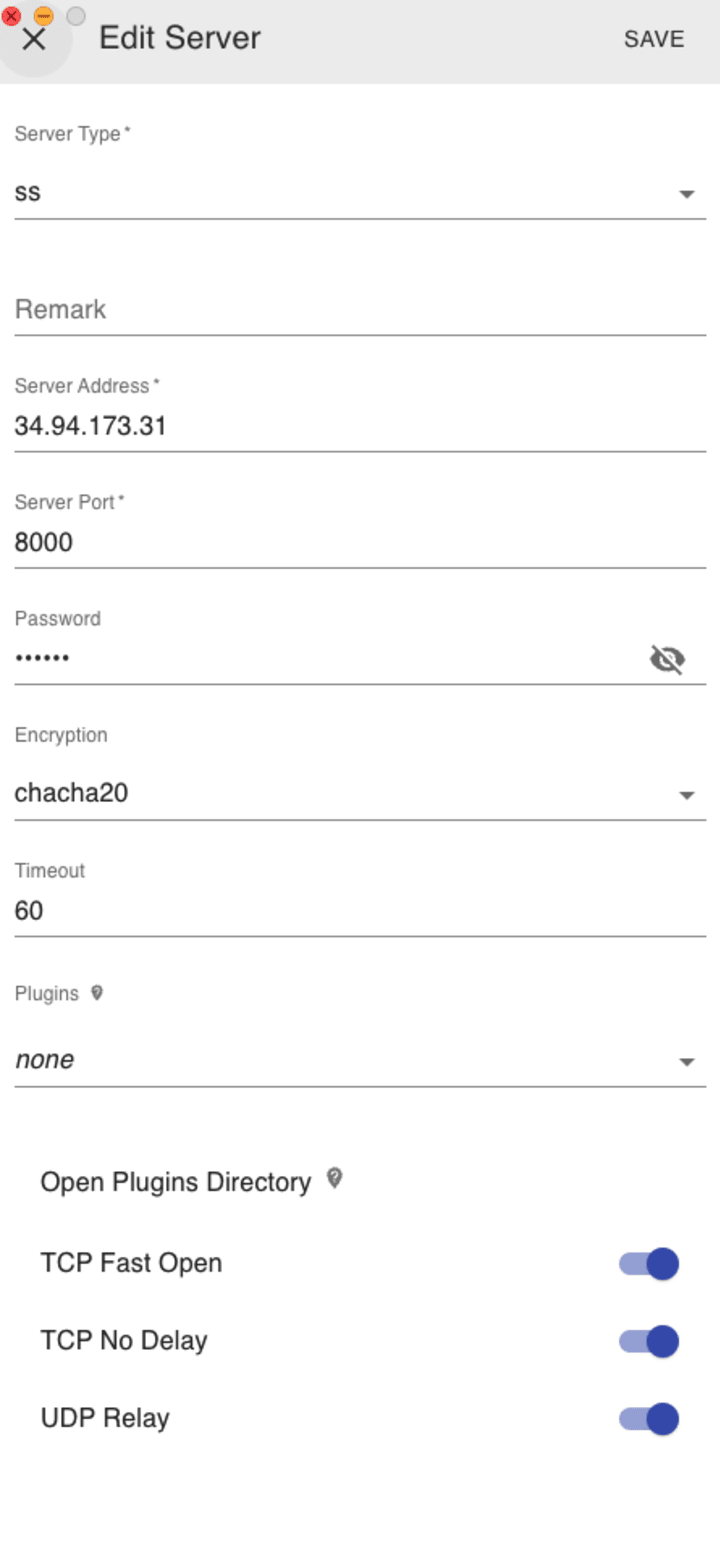
The Server Address is the IP address of my server in Google Cloud. You can find the IP address in your GCP console. For more information about the Shadowsocks client, check out this github repo: https://github.com/nojsja/shadowsocks-electron.
Click “SAVE” and you are all set. Enjoy your own VPN!
Talk to us today
Interested in running Ubuntu in your organisation?
Newsletter signup
Related posts
Canonical Ubuntu and Ubuntu Pro now available on AWS European Sovereign Cloud
Canonical announced it is a launch partner for the AWS European Sovereign Cloud, with Ubuntu and Ubuntu Pro now available. This new independent cloud for...
How to build DORA-ready infrastructure with verifiable provenance and reliable support
DORA requires organizations to know what they run, where it came from, and how it’s maintained. Learn how to build infrastructure with verifiable provenance.
Minimal Ubuntu Pro: lean images backed by enterprise-grade security
The security landscape is growing continually in complexity. Whatever industry you work in, your organization has to contend with evolving threats and...